Kiln operator workflow
This guide is for kiln operators on Rainbow distributed projects. The operator records the chain from biomass source through kiln run, mixture, and land application.
This workflow has different fields and measurement requirements from the Artisanal workflow. Confirm that your menu shows Fields / Facilities, Production, Mixture, and Applications before continuing.
Before you begin
Complete Install, sign in, and prepare. Confirm that the correct project, production batch, kiln, operator, containers, vehicles, fields, and farmers—where applicable—are available.
1. Record a field or facility
Open ≡ → Fields / Facilities and choose the appropriate tab.
Create a field
Select Create field, then complete:
- Project.
- Farmer, when the project uses a farmer network.
- Field name and optional sub-names.
- Field size and unit: hectares, acres, or square metres.
- Four photos taken from different points on the field.
- Crop name.
Use the map to place and review the field boundary.
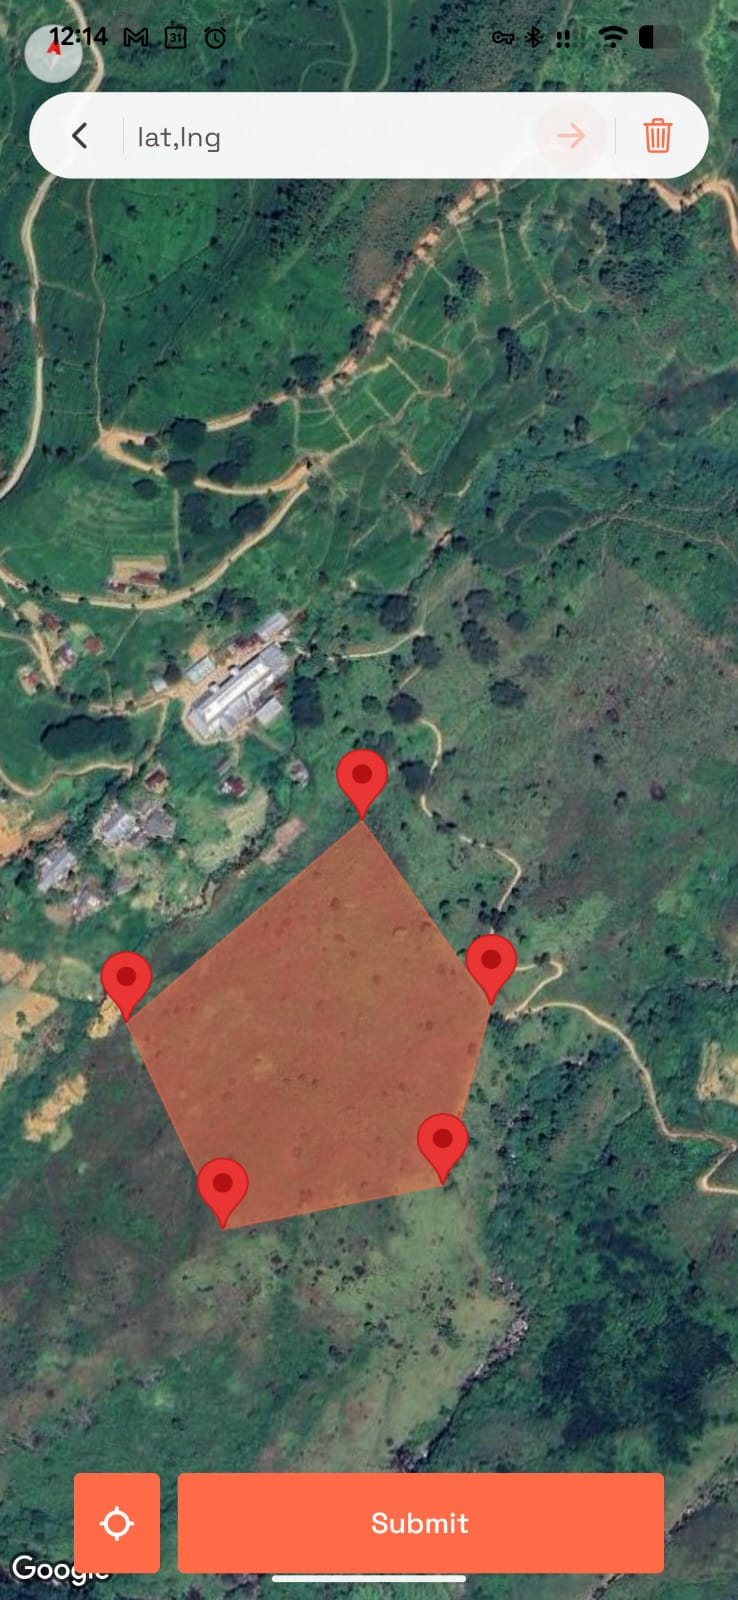
Submitted fields cannot be edited in the app. Check the review screen before submitting. While it is still a draft, you can use Delete Draft and start again.
Create a facility
Select Create facility, then complete:
- project, facility name, and address;
- facility owner's name and email for the biomass audit;
- biomass type;
- facility location on the map;
- one photo showing the complete biomass quantity and type;
- a second photo showing the facility.
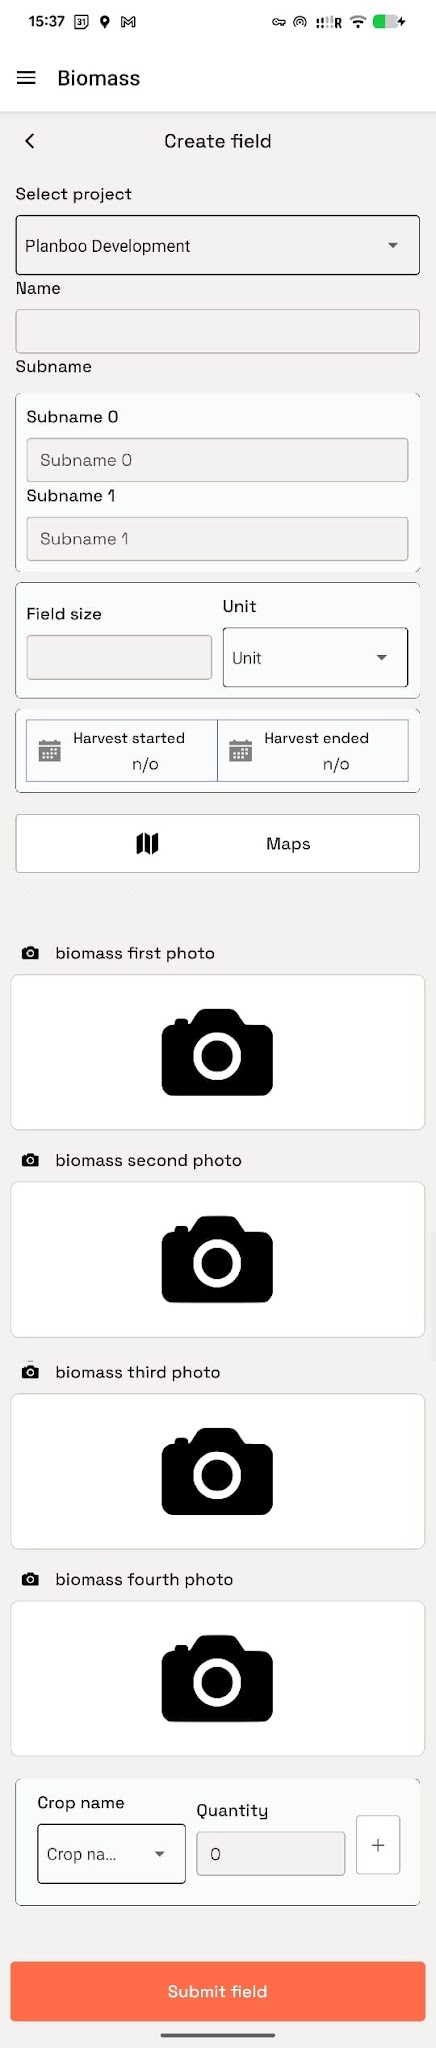
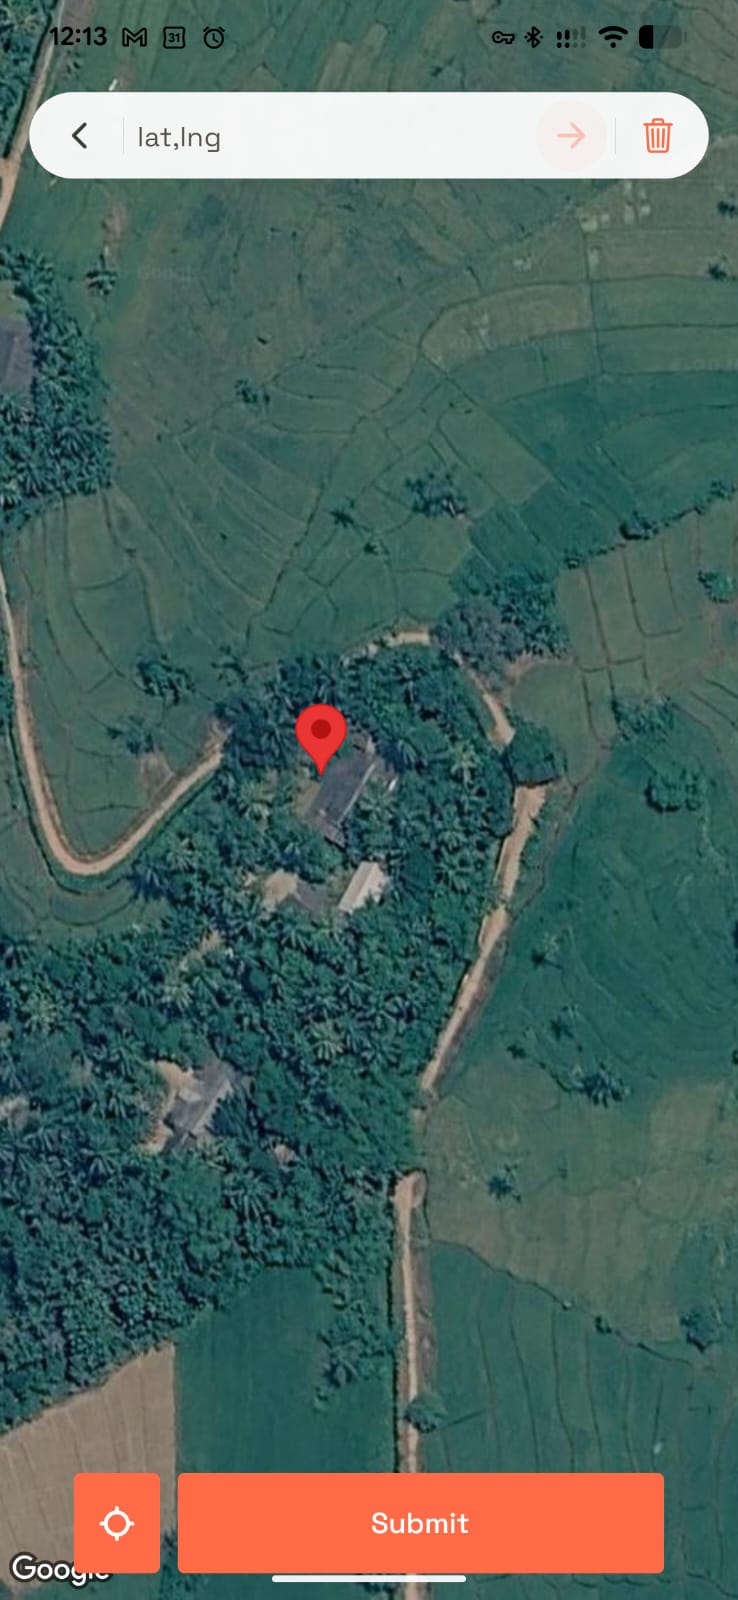
Review the facility before submitting it.
2. Record a kiln run
Open ≡ → Production. The list separates Finished and Ongoing kiln runs. Select New Kiln Run.
Site check
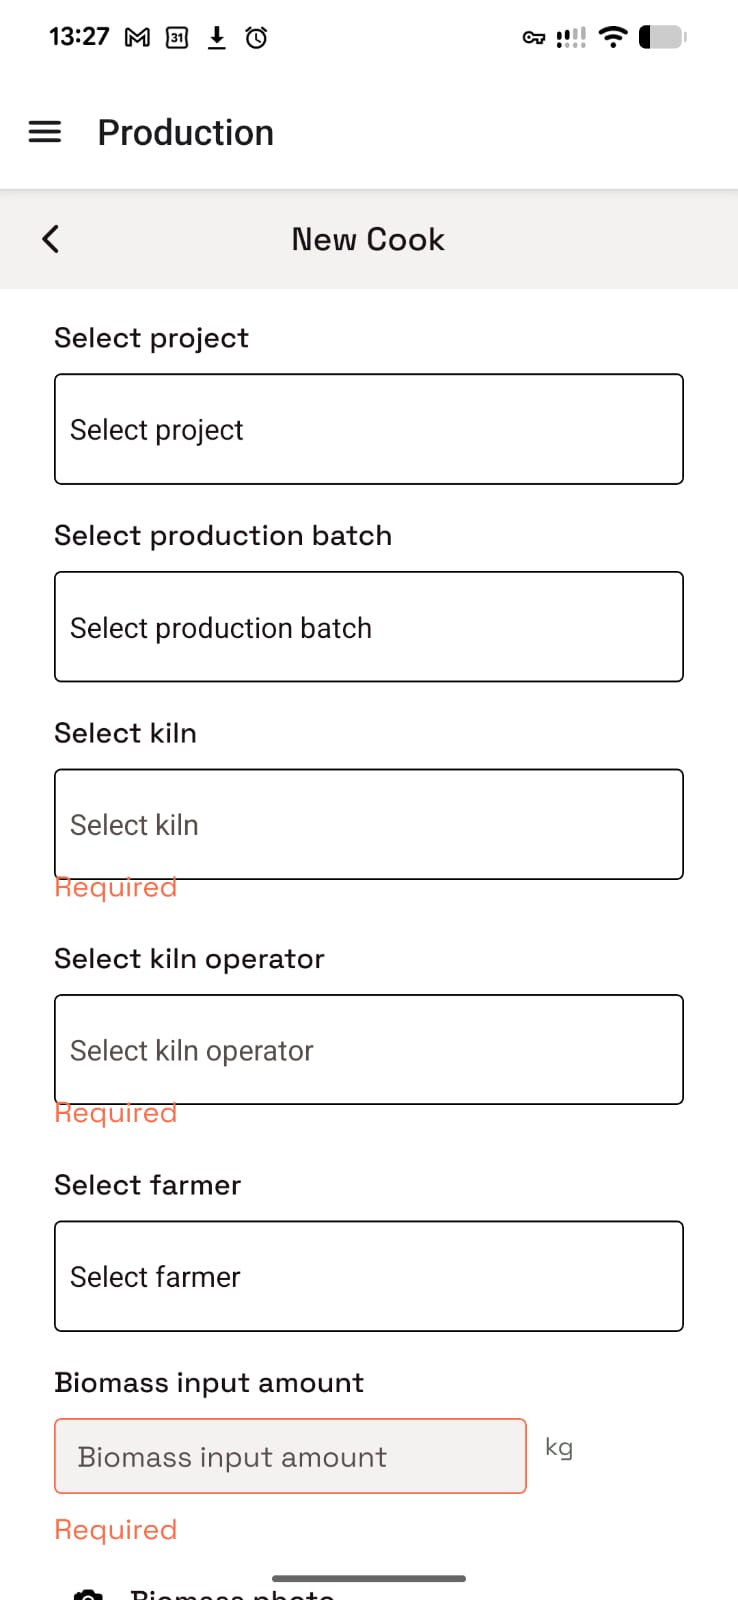
Select:
- project;
- kiln;
- production batch;
- certified kiln operator;
- farmer, when the project uses a farmer network.
Biomass and moisture
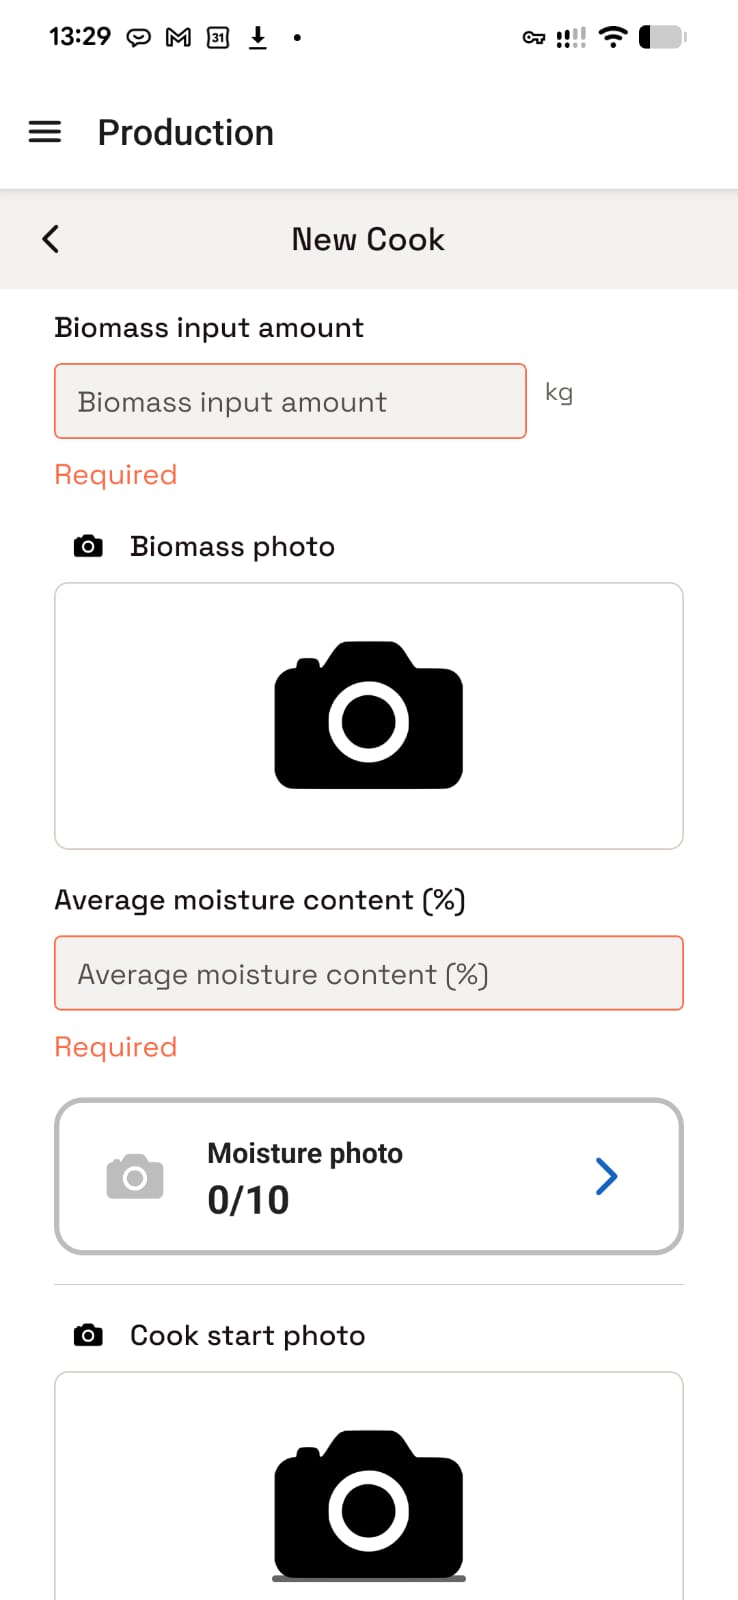
- Enter the biomass input weight.
- Follow the number of moisture readings calculated by the app: one reading per 100 kg of biomass, with a minimum of ten readings.
- Take a photo of the complete weighed biomass and its type.
- Take a clear photo of the moisture meter for every reading.
- Enter the average moisture result.
Pyrolysis and quenching evidence
Take:
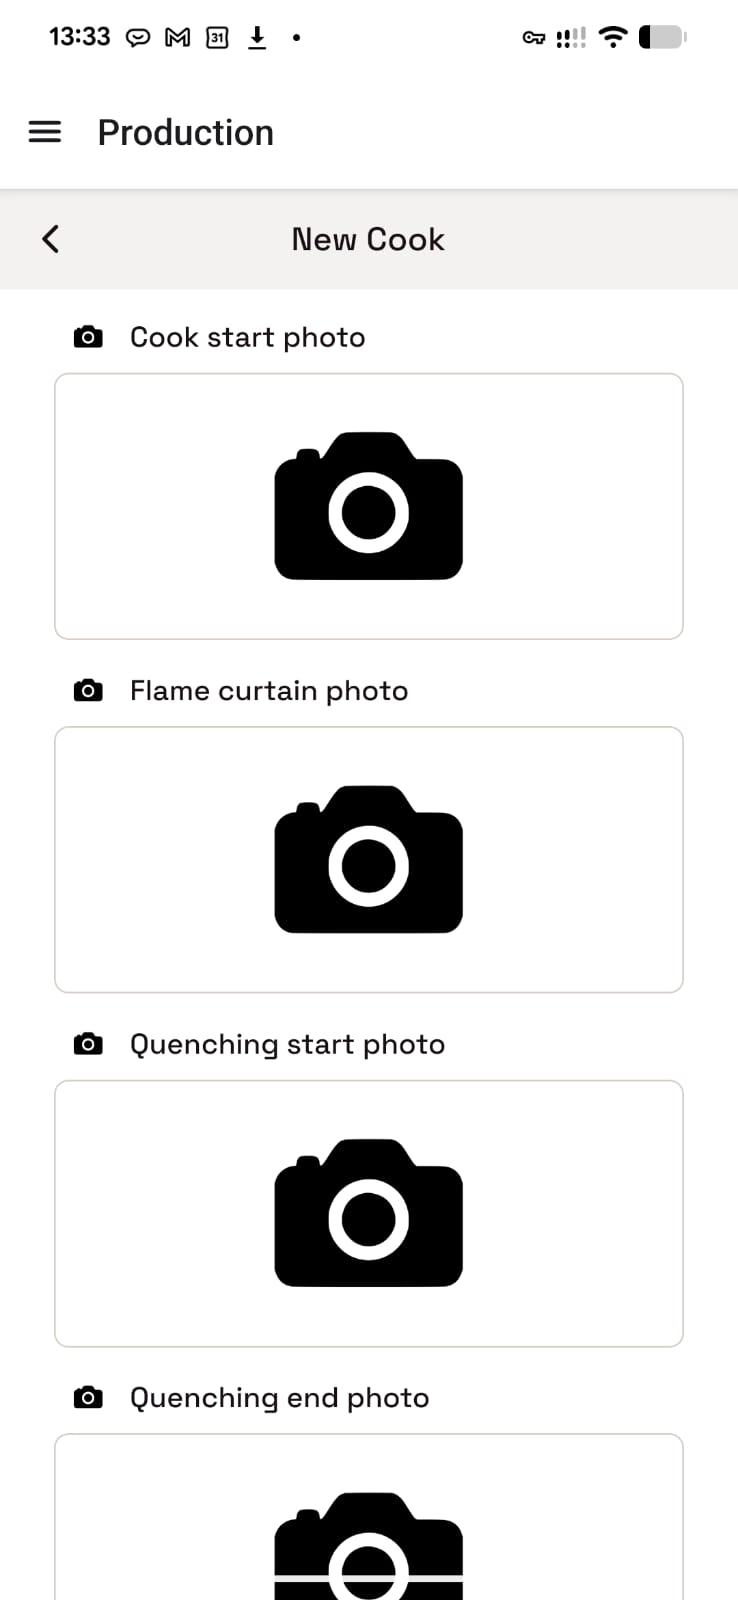
- a Kiln Start Photo showing ignition;
- a Flame Curtain Photo showing the full kiln after the final biomass layer;
- a Quench Start Photo showing water being poured into the kiln;
- a Quench End Photo showing the full kiln with no flames or white ash remaining.
Quantify the output
Provide:
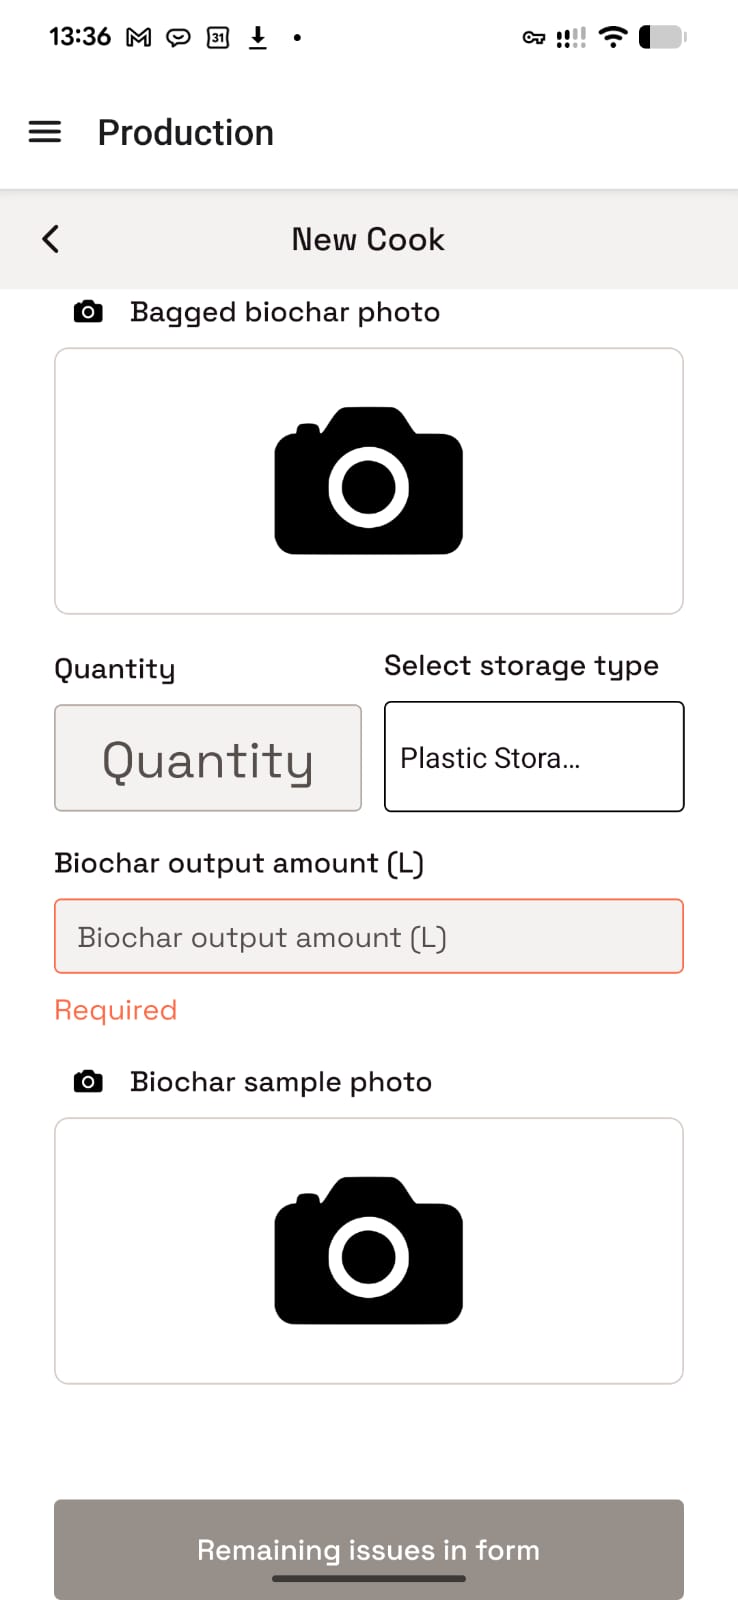
- a photo showing all bagged biochar output and the containers;
- the number and configured type of containers;
- biochar output in litres, checking the amount suggested from the configured containers;
- a photo showing the kiln-run sub-sample being taken.
Review the entire run before submitting. Submitted kiln runs cannot be edited. An unfinished run remains in Ongoing and can be completed or deleted as a draft.
3. Record a mixture
Open ≡ → Mixture, then select New Mixture.
Setup
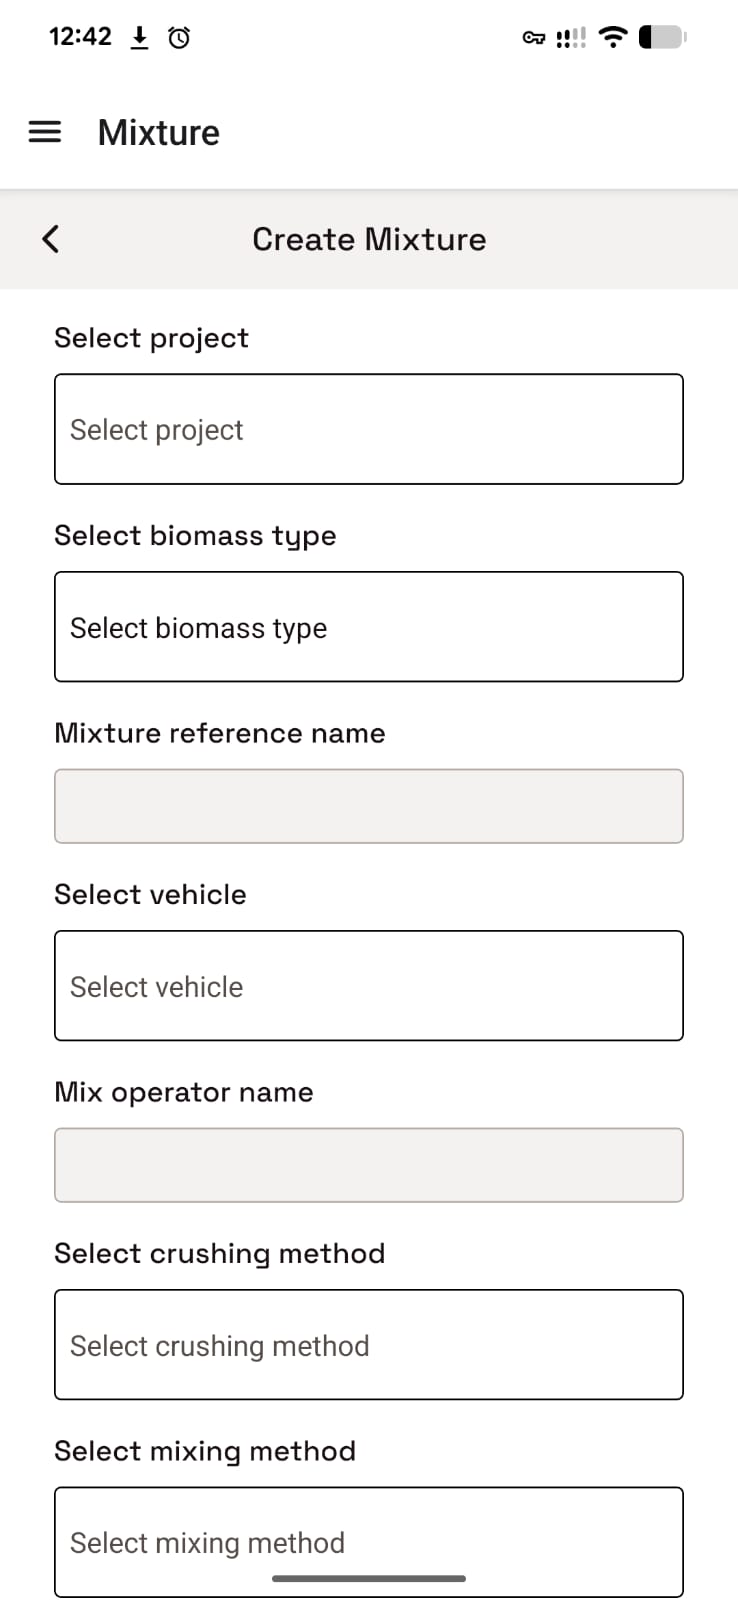
Select or enter:
- project and farmer, when applicable;
- production batch;
- mixture reference name;
- vehicle used from the biochar site to the mixing site;
- mix operator.
Process and quantities
- Select the crushing and mixing methods.
- Take a start photo showing biochar and the other ingredients in separate piles before mixing.
- Take an end photo showing the completed mixture.
- Add every ingredient as a separate row with its name, quantity, and unit.
- Enter biochar input and final mixture output in litres.
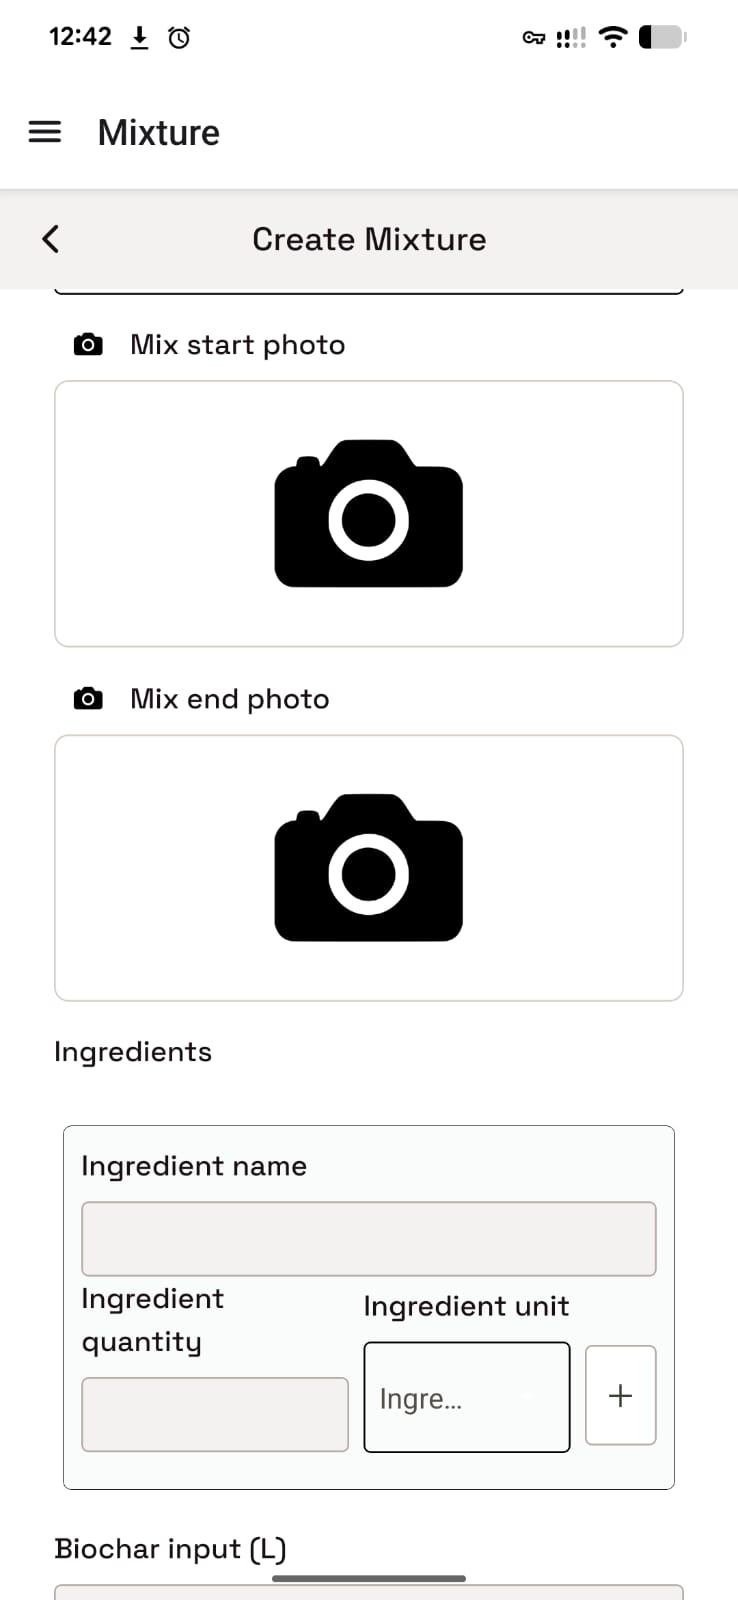
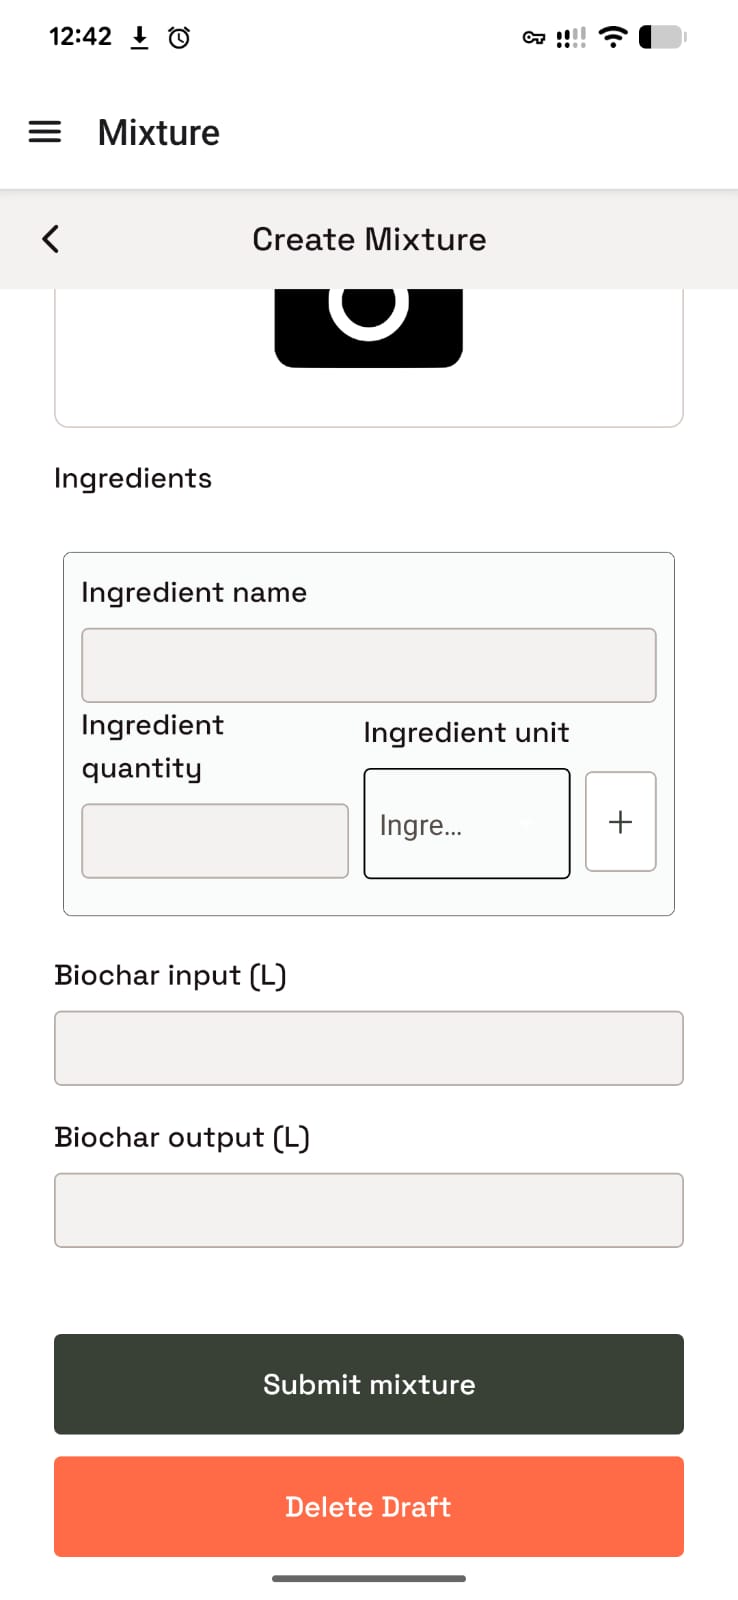
Mark the mixture finished only after every required field is complete. Submitted mixtures cannot be changed; unfinished mixtures remain in Ongoing.
4. Record an application
Open ≡ → Applications, then select New application.
Logistics
Select:
- project;
- exact mixture, checking the litres remaining;
- farmer, when applicable;
- vehicle used from mixing site to application site;
- previously recorded field;
- field officer.
Application evidence
- Select the application method.
- Enter the total mixture applied in litres. The quantity cannot exceed the amount remaining in the selected mixture.
- Take the required first photo showing the bagged quantity to be applied.
- Take a second photo showing application in progress.
- Take a wide third photo showing evidence of biochar in the ground.
- Optionally take a close fourth photo showing biochar in the ground.
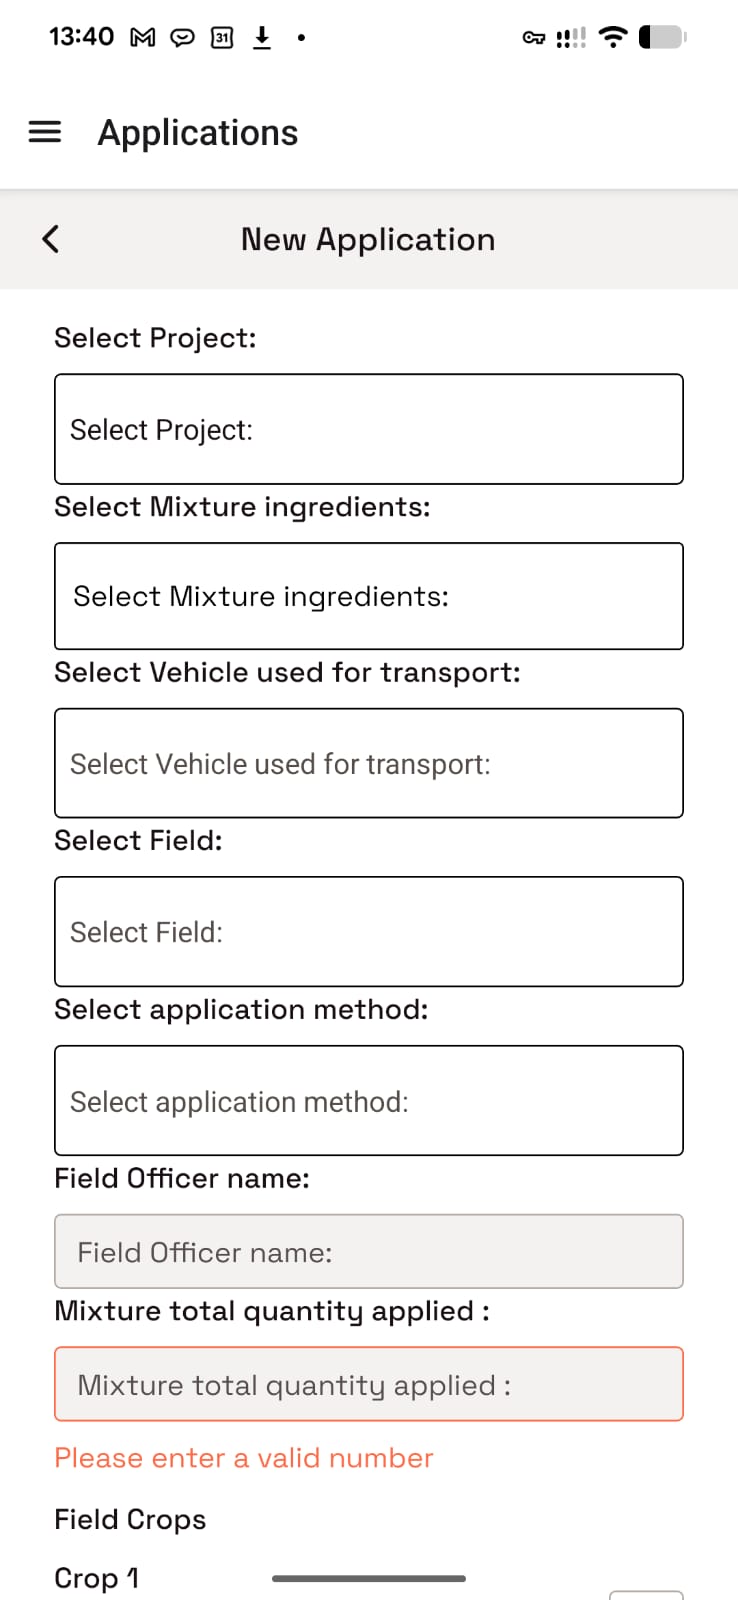
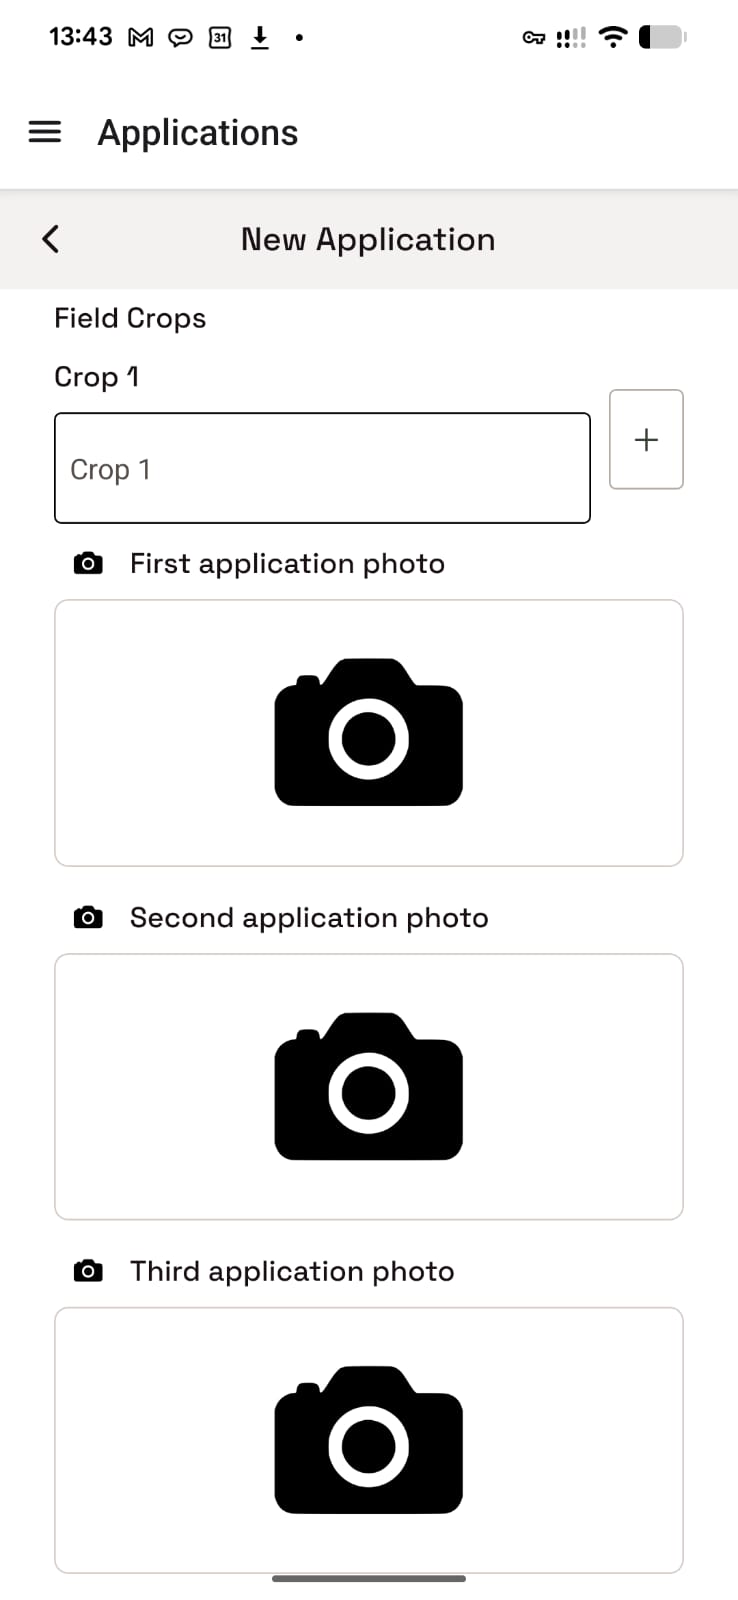
If the app rejects the quantity, confirm both the selected mixture and the litres entered before continuing.
5. Synchronize and confirm
A phone icon means a record is waiting on the device; a cloud icon means it has synchronized. Use Sync Offline Cooks or Sync Phone Data—whichever is shown for your app version and role—after connectivity returns, then wait for all evidence to upload.
See Offline synchronization before logging out or changing phones.
Confirm success
The workflow is complete when each required record is submitted under the correct project and production batch and shows successful synchronization. For unresolved permission, GPS, display, or sync problems, follow Troubleshooting.